Guest Blog Post: Third Day of Work Experience (2014)

On day three of his work experience with endjin, Jack, 15, describes learning about cascading style sheets, and programming a Busylight.
I arrived at the office again around 8:45, I was getting into a routine each morning now and the route to the office was becoming second nature to me. I began the morning by finishing off some of the last of the user stories that we were inputting on to YouTrack with Alice. After doing it yesterday as well we had a good system of taking it in turns to write them in and we finished it all by 11:00
CSS
I then went onto Pluralsight and started watching an introductory video about CSS which stands for 'Cascading Style Sheets'. I first learnt about how it is written and why it is good to use. CSS allows you to easily manage the presentation of a website by placing rules about appearance on a separate 'style sheet', which means the HTML is clearer to read and more manageable. It also means if you are experimenting with a website's design it makes it a lot easier to make changes.
The course then went onto explain the different functionality that CSS offers. One feature is letting you write a rule in just one place. CSS rules are picked up by all the HTML elements of the type that you specify in the rule. This means that for example you want the text in each div element to have a font size of 11 then you don't have to keep individually writing it for each element but it will automatically apply it to each div.
The next topic was padding, margin and borders. This showed where you want the text or other content to be positioned, let's say if you wanted it to be closer to the margin on the left you could reduce the padding on the left so it would become closer to it. This was very useful to learn because it means that you are able to alter the appearance of different sections on the webpage.
The next lesson was on CSS positioning. The default way of positioning is Static this means that the element is positioned with the regular flow of the page. Fixed positioning means the element is positioned relative to the browser window. Let's say you always wanted a bar to stay 20 pixels away from the top of the page, so if you scrolled down the bar would also move down with the page. This would be very useful let's say if you wanted to have a help toolbar for a website as it would mean you would not have to keep scrolling up each time you wanted help. Absolute positioning means that the image or text will always stay in the same position within the page and doesn't move with the browser window if you scroll down. There was then a little explanation on 2 and 3 bar webpages and how to make them easier to read.
Programming a Busylight
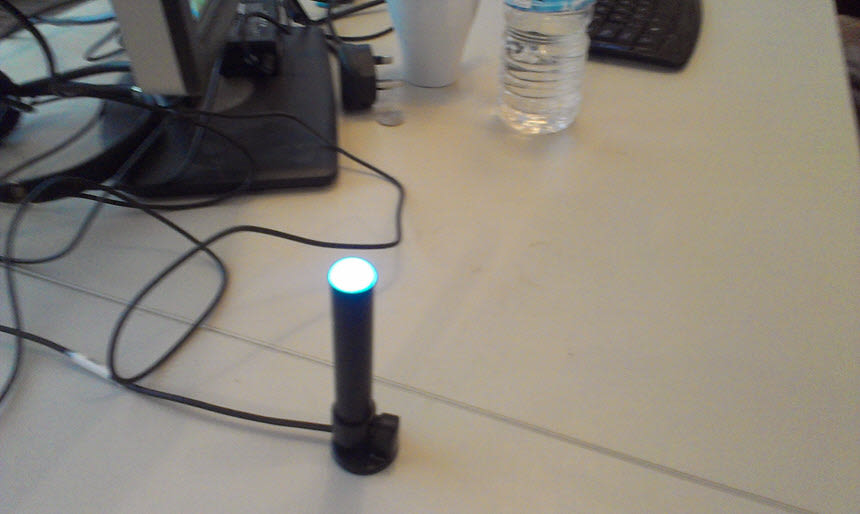
After finishing just the the introduction course to CSS which took 2 and half hours!!! Richard came over and showed me a Kwando Busylight. This is a programmable light which allows you to show whether you are busy or available to talk and other things as well. We then downloaded the Busylight SDK which allows you to programme the light to suit your own needs. Richard showed me the basics to how a programme worked and which commands did what.
The first thing we did was to create a message which said "Press any key". This means that the programme when we ran it did not just turn off straight away. We then tried the light so it would turn on. After following a blog that was helpfully attached to the site where we downloaded the SDK we were able to see what commands would turn the light on. We tried a command which would hopefully turn the light to red:
var.controller = New BusyLightLyncController(); controller.Light(BusyLightColor.Red);
This luckily turned the light on first time! We then tried to make it turn from one colour into another after turning off for 5 seconds. We successfully made it turn it from Red to Blue to Yellow to Green to off. These are the only 4 pre-set colours that they gave to, however you were able to make more colours so we made a dim Cyan colour by mixing the ratios of the red, blue and green intensities. Here is the code that we made to run it:
private static void ChangeColour(BusylightLyncController controller)
{

    controller.Light(BusylightColor.Red);
    Thread.Sleep(500);

    controller.Light(BusylightColor.Blue);
    Thread.Sleep(500);
    controller.Light(BusylightColor.Yellow);
    Thread.Sleep(500);
    controller.Light(BusylightColor.Green);

    //Thread.Sleep(500);
    //controller.Light(BusylightColor.Off);

    controller.Light(new BusylightColor()
    {
        RedRgbValue = 0,
        GreenRgbValue = 2,
        BlueRgbValue = 2
    });
}
After this we tried to make the light that change in brightness, using the following code:
DimmingLIght(BusylightLyncController controller)
{

    var sequence = new PulseSequence();
    sequence.Color = BusylightColor.Red;
    sequence.Step1 = 1;
    sequence.Step2 = 64;
    sequence.Step3 = 128;
    sequence.Step4 = 255;
    sequence.Step5 = 255;
    sequence.Step6 = 128;
    sequence.Step7 = 64;
    sequence.Step8 = 1;

    controller.Pulse(sequence);
}
The code worked but we didn't like the jumps in brightness, so we changed our code to create smaller intervals so the increases and decreases of brightness would be gradual rather than jumpy:
DimmingLightSmoothly(BusylightLyncController controller)
{
    for (int i = 1; i <= 255; i++)
    {
        controller.Light(new BusylightColor()
        {
            RedRgbValue = i,
            GreenRgbValue = 0,
            BlueRgbValue = 0
        });
        Thread.Sleep((50));
    }

    for (int i = 255; i > 0; i--)
    {
        controller.Light(new BusylightColor()
        {
            RedRgbValue = i,
            GreenRgbValue = 0,
            BlueRgbValue = 0
        });
        Thread.Sleep((50));
    }

    controller.Light(BusylightColor.Off);
}
There was also the feature on the Busylight to play sounds as well. This was quite easy to write as I was starting to get used to the whole process of writing out code:
SoundAlert(BusylightLyncController controller)
{
    controller.Alert(BusylightColor.Red,
                     BusylightSoundClip.FairyTale,
                     BusylightVolume.Low);

    Thread.Sleep(10000);
    controller.Light(BusylightColor.Off);
}
After doing this we called it a day.