A Step by Step Guide to Hosting TeamCity in IIS 7
Because we believe in working smarter, not harder, our Continuous Integration Server of choice is JetBrain's TeamCity.
We've believe that the combination of a virtualised development environment and a mature Continuous Integration Platform is a powerful one, especially because TeamCity allows us to easily scale out our build capacity by adding more Build Agents that can be hosted on Azure Virtual Machines or even Amazon EC2 instances.
In this Step by Step Guide we will show you how to configure TeamCity to run on Windows Server 2008 R2 and proxy requests through IIS 7 so that you can access your TeamCity server via a custom domain, for example http://teamcity.yourcompany.com
First download the TeamCity Windows Installer (WAR / JAR version are also available) – this is a totally self contained package that contains a pre-configured Apache TomCat instance.
The install experience is very straightforward, first run the installer:
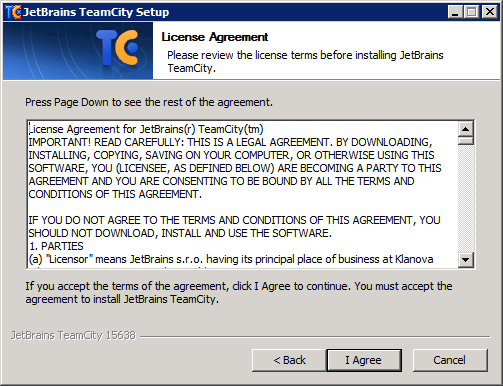
Then accept the License Agreement:
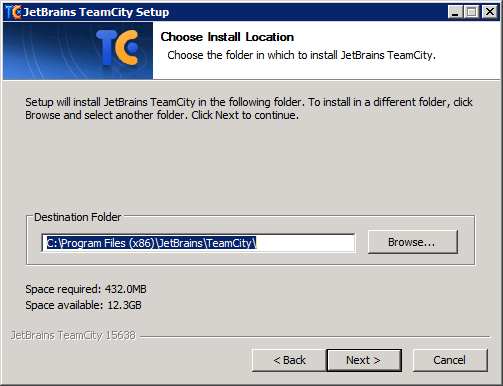
We have modified the destination folder from the default (a Team City folder in the root of C) to install into Program Files (we are running on a 64bit server, hence the (x86)):
Next select all the components you want installed on your server. The default topology allows you to configure both the CI Server and the Build Agents onto the same box – if you have a large team, who make a large number of commits – it might be advisable to scale out the Build Agents onto separate boxes.

We have modified the configuration directory to sit inside the installation directory rather than in the user's profile folders. Click next to start the installation process.

The install process is quite quick…

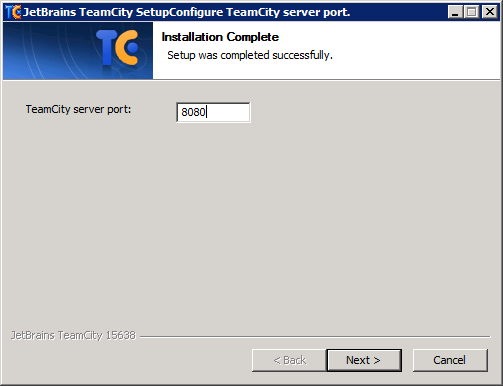
Once the installation has finished you will be presented with the following screen, which asks you to specify the port number that TeamCity will run on. This port number is used to configure TomCat which the Java based TeamCity server will be hosted in.
By default port 80 is entered – but this port is already being used by IIS 7, so change to port number to 8080 (assuming that you do not have another service listening on that port):
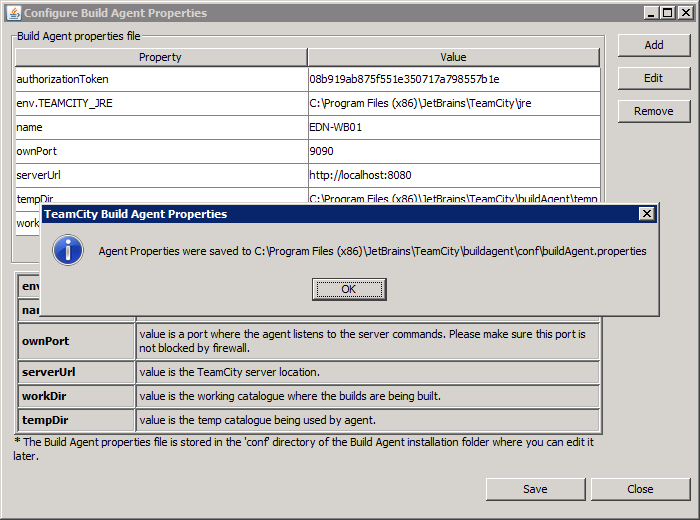
Next you will be presented with the "Configure Build Agent Properties" screen. Note that it has been configured to look at the port number listed in the previous screen:

Click "save" and you will see a confirmation dialog. Make a note of the location of the config file as you may need to edit it at some point in the future.
Next you will be presented with a screen that asks which Windows Account you wish to run the service under. System is the default selection.

Next you will be asked which services you wish to start immediately:

TeamCity is now successfully installed. When you click "Finish" you will be taken to the new TeamCity instance.

TeamCity will now initialise and ask you to create an administrator account and configure a database. once you have done this you should be prompted to log-in. Note that TeamCity is only available to be resolved via localhost:8080.
In the following screen I have modified the default settings to prevent public registration – thus the only option when visiting the root of the TeamCity web app is to authenticate:

Now that TeamCity is successfully installed and configured we need to configure IIS to proxy web requests from port 80 to TomCat which is listening on port 8080. The easiest way to configure IIS is via the wonderful Web Platform Installer. If you don't already have this installed on your server – you can download it from here.
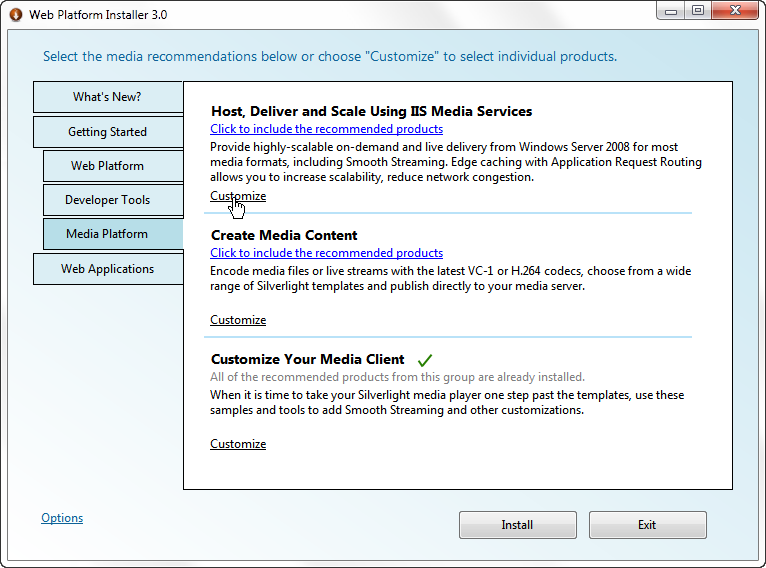
Once installed, run the application and navigate to the Media Platform tab. Then click "Customize" on the "Host, deliver and Scale Using IIS Media Services" section:
Select the "Application Request Routing 2.1" option and click "Install":

The next screen will show all the required dependencies for this feature. Click "I Accept" to download and install them:
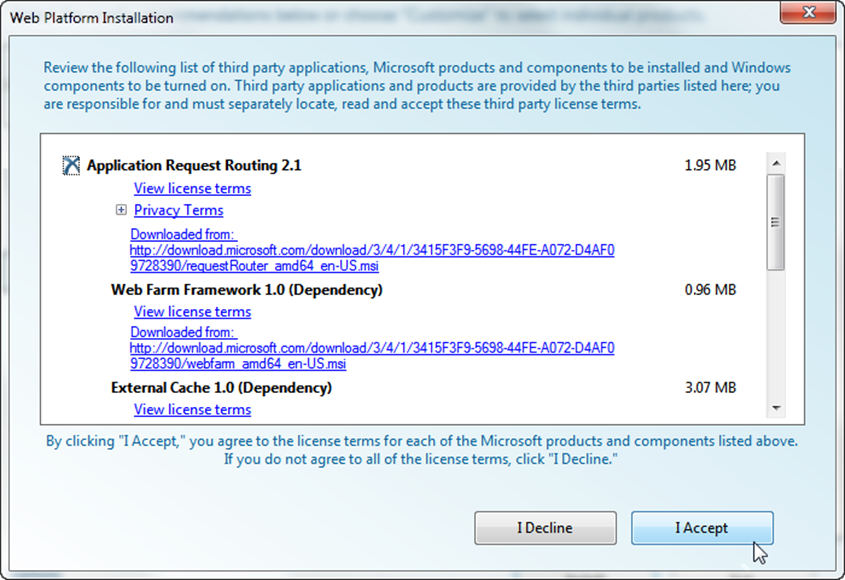
The Web Platform Installer will now install the components, firstly the "Web Farm Framework 1.0":
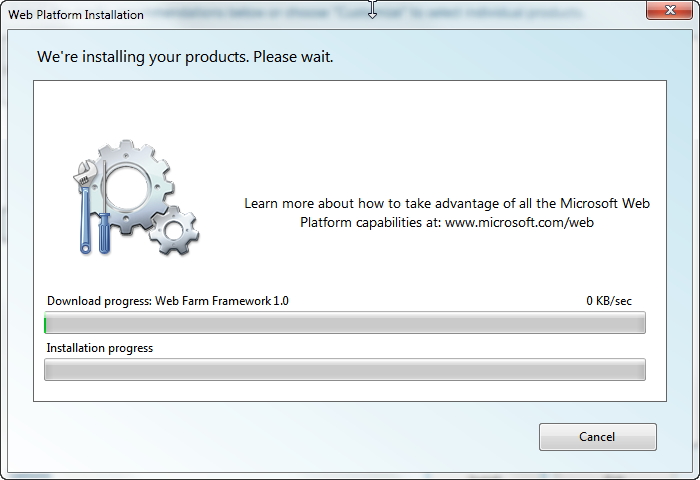
Next the "External Cache 1.0":

Next "URL Rewrite 2.0":
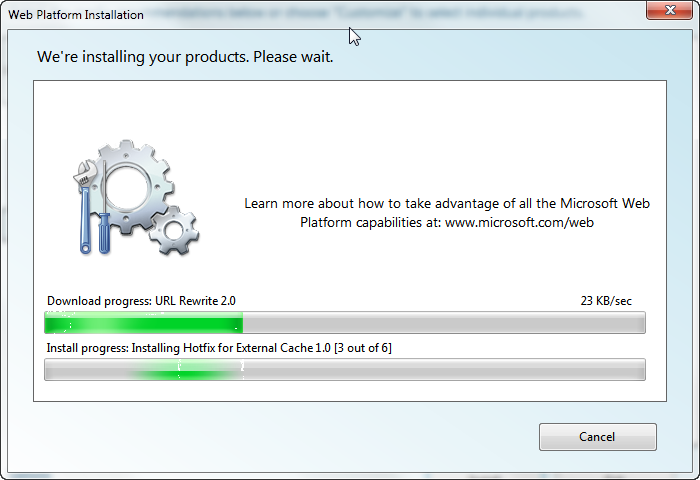
Next "Application Request Routing":

When this completes you will be shown a confirmation screen listing all the components that were installed:

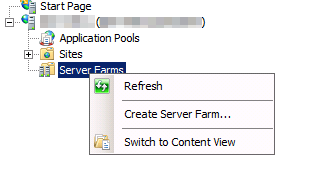
Next open IIS 7 Manager. You should see a new node called "Server Farms":

Right click on this node and select "Create Server Farm" from the context menu:
Next, enter a new Server Farm Name – call it "TeamCity", then click Next:
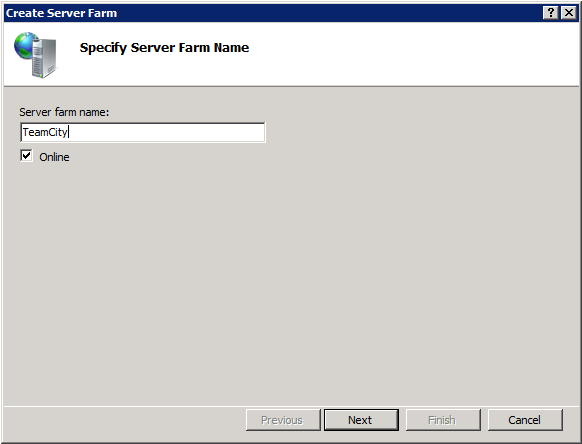
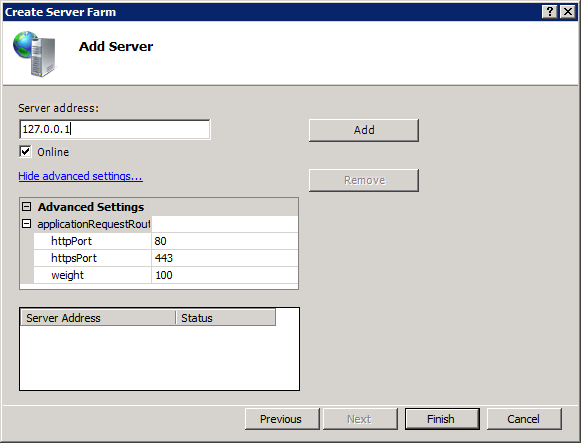
Next, you will be prompted to add a server to the server farm:

Click the "Advanced Settings" link:

Now enter the IP address of the server to allow IIS to resolve to localhost:
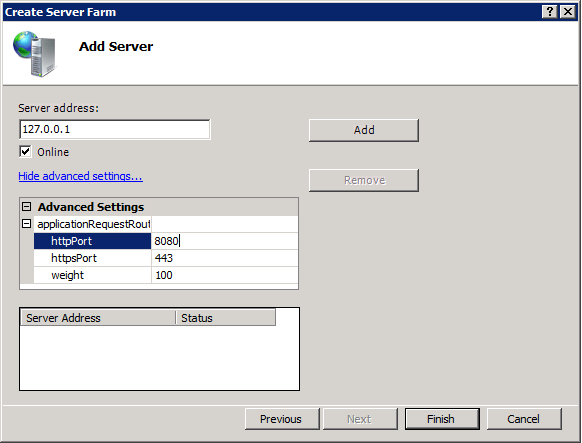
Now update the httpPort to the number entered during the installation process – in our case this is 8080, click "Finish" once done:
IIS will ask if you want it to create a URL rewrite rule. Click "Yes":

Navigate up to the "Server Farms" node in the "Connections" pane – you should see that TeamCity is now listed as a Server Farm:

Navigate up to your server node, and double click the "URL Rewrite" icon under the "IIS" section
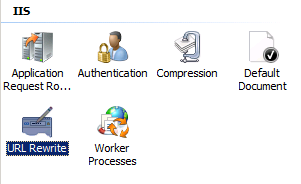
This will display the rule that IIS automatically created for you in a previous step, double click this rule to edit it:

Expand the collapsed "Conditions" section:
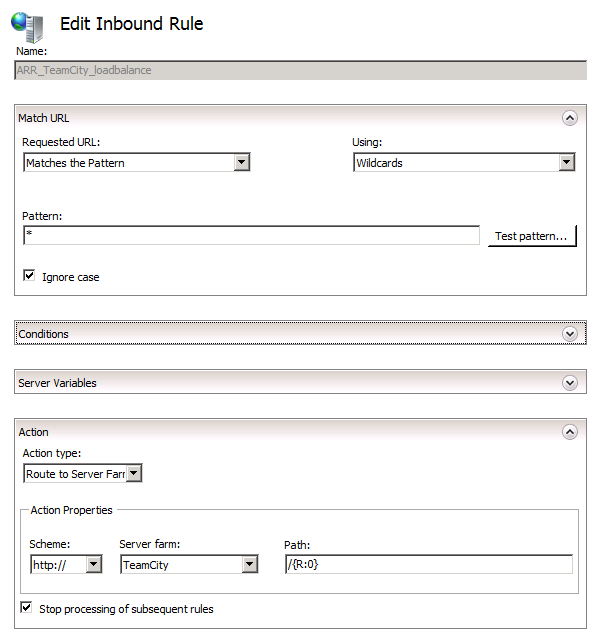
Click the "Add" button to add a new condition to the rule:
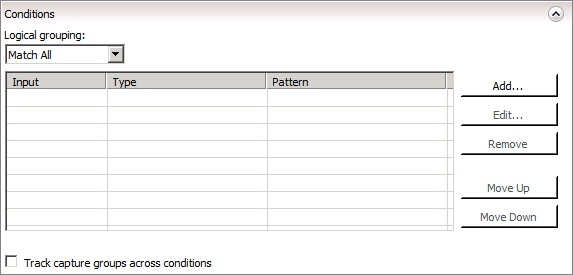
By default the condition input field of this dialog contains {QUERY_STRING}, change this to {HTTP_HOST}:

Then in the "Pattern" field add your TeamCity subdomain – in our case this is ci.endjin.com:
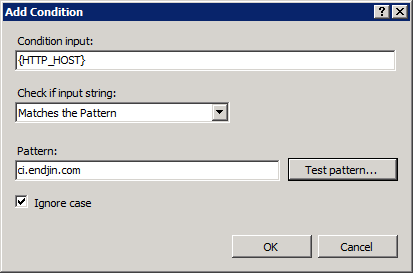
Click OK and you will now see the new condition:

Note: Remember to click "Apply" in the right hand pane, in order to save these changes.
Now you should be able to resolve your TeamCity installation using it's public sub-domain address:

Work Smarter, Not Harder.

