A Step by Step Guide to Hosting YouTrack in IIS 7
Because we believe in working smarter, not harder, our Issue and Bug Tracker of choice is JetBrain's YouTrack.
This is our second Step by Step Guide, which follows on from our previous Guide on Hosting TeamCity in IIS 7. We will be using the same server (and assuming you will be doing so too) thus we will not cover some of the initial IIS 7 component installation and configuration steps via the Web Platform Installer. If you are installing YouTrack on an empty Windows Server 2008 R2 environment – please follow the steps as detailed in the Step by Step Guide on Hosting TeamCity in IIS 7.
Firstly download the YouTrack Windows Installer (either the latest official release – or if you're feeling experimental – the latest EAP build).

Double click the installer – after a few moments you should see the welcome screen. Click "Next":
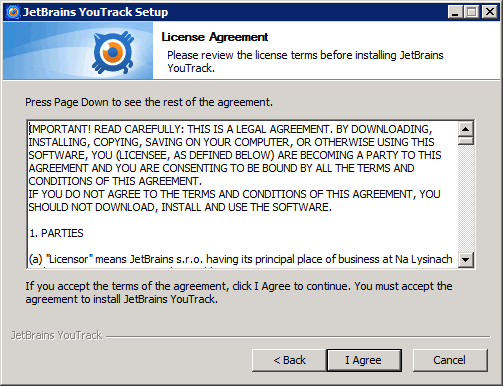
Then read and agree to the "License Agreement":
Next you'll be shown the "Choose Install Location" screen, with the default install location:

We like to keep all our applications in the same place (Program Files) so we modify the default location, taking into account that Windows Server 2008 R2 is a 64 bit machine, then click "Next":

You will then be shown the "Choose Components" screen – select the defaults (Core + Windows Service) and click "Next":

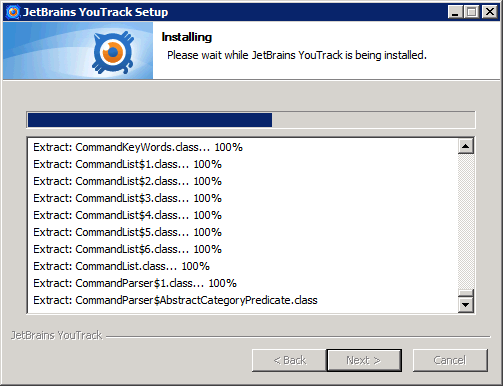
Now the installer will start to unpack and install YouTrack. This may take a while:
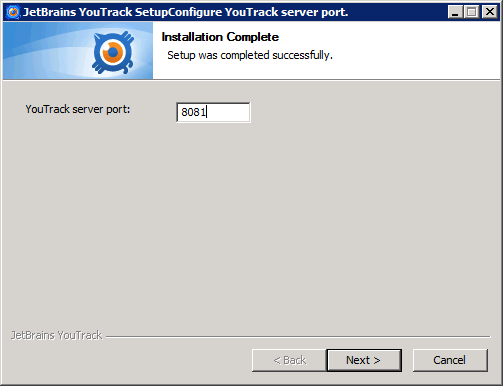
Once installed you will be asked to specify a port number for YouTrack. Like TeamCity, YouTrack installs a self contained instance of TomCat – by default this will run on port 80 – but as we already have IIS 7 installed – which listens on port 80 we need to specify a custom port number:

and we already have TeamCity installed which listens on port 8080 – we need a different number – so enter 8081, then click "Next":
The installer will ask if you want to start the YouTrack windows service, select the option and click "Next":

The installer has now finished – it will ask if you would like to open the YouTrack web interface. This will launch on http://localhost:8081. Click "Finish":

Now open up "Internet Information Services (IIS) 7 Manager" from the start menu (typing "IIS" is the fastest way to find the right version). Once open, expand the "Server Farms" node. You will see the TeamCity Server Farm instance we created in the previous Step by Step Guide. Right click on the "Server Farms" node and select "Add New Server Farm":

You will be presented with the "Create Server Farm" dialog:

Enter "YouTrack" as the server farm name, then click "Next":

You will then be presented with the empty "Add Server" dialog. Click the "Show advanced settings" hyperlink:
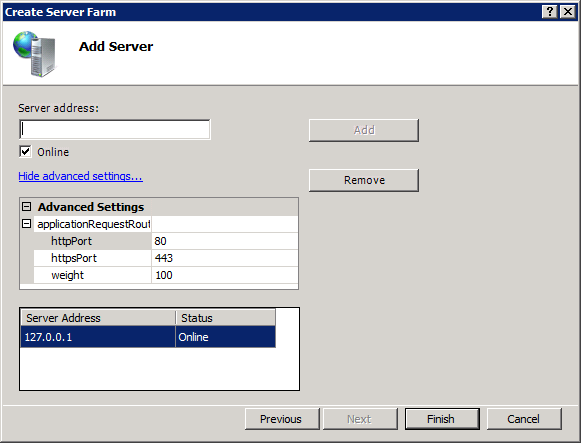
Enter "127.0.0.1" as the server address and enter "8081" as the httpPort number. Then click "Add" and then click "Next":

You will be prompted to create a new URL Rewrite rule. Click "Yes":

Now you should see that a new Server Farm called YouTrack is visible:

Select the IIS server node in the left hand pane, then double click the "URL Rewrite" Icon in the right hand pane. you will see the following rules listed. Double click the "ARR_YouTrack_loadbalance" item:

Expand the "Conditions" section:

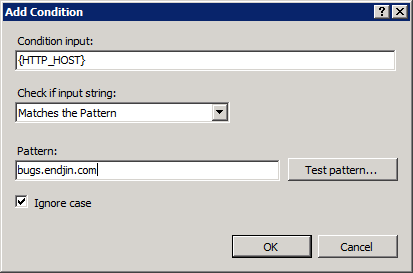
Click the "Add Condition" button. You will be shown the following dialog. Enter "{HTTP_HOST}" in the "Condition input" field and your custom subdomain (ours is bugs.endjin.com) in the "Pattern" field. Then click "Ok"
Next, click "Apply" in the top right pane:
on your local machine you should now be able to type your subdomain into the browser and you will be redirected to the next step in the YouTrack configuration process:

Enter your license key, Url, admin password and email accounts and click "Save":
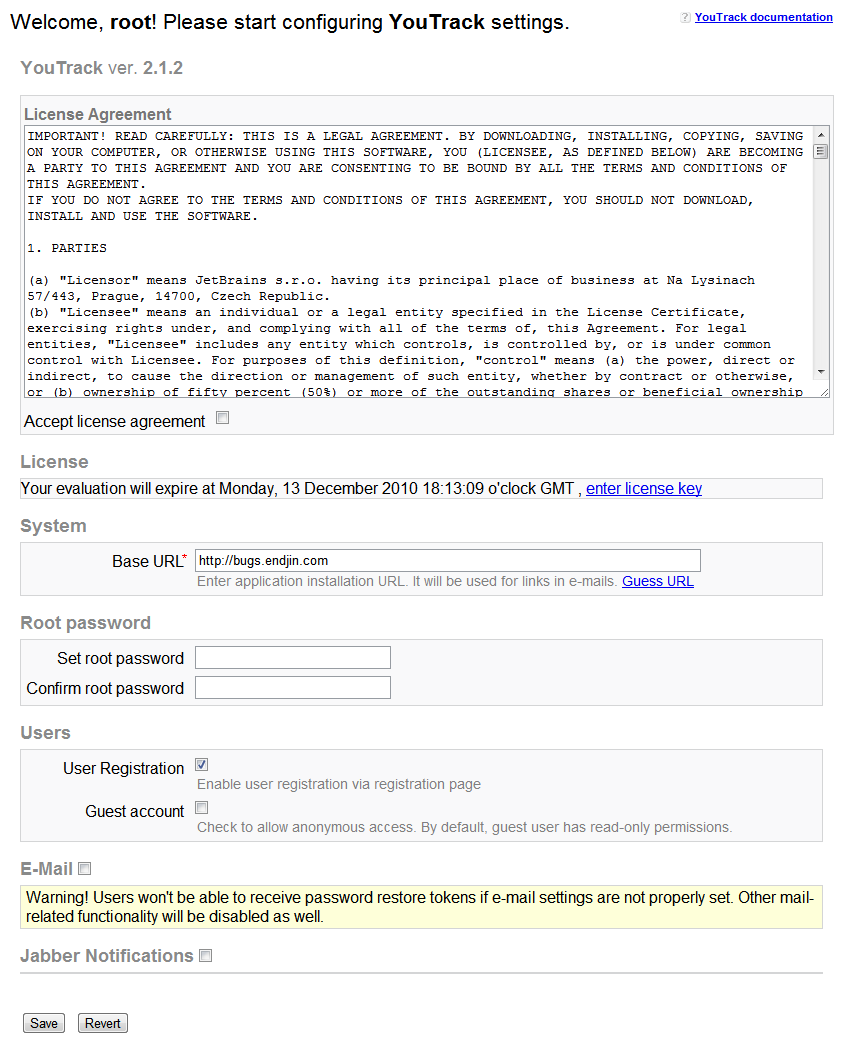
You should now have a working installation of YouTrack available on your custom subdomain, with all requests routed via IIS 7:

Work Smarter, Not Harder.

