A Step by Step Guide to Connecting to an Azure Virtual Machine with PowerShell Remoting
Any person tasked with looking after a number of Windows Servers knows that Remote Desktop will only scale so far and that at some point you will need to turn to scripting to manage a server estate of any reasonable size. Two years ago I blogged "An Omega Geek's Guide to Learning PowerShell", so it should be pretty obvious what my weapon of choice is.
Theoretically, connecting to an Azure Virtual Machine via PowerShell Remoting should be relatively straight forward, as Windows Server 2012 R2 enables PowerShell Remoting by default and Azure exposes a remoting endpoint by default. I wanted to script some changes to a TeamCity based Continuous Integration Environment (see my whitepaper for JetBrains "From Chaos, through Fear, to Confidence" for more information), and found that in practice it was actually a tad more involved.
Firstly, you need to know where your public PowerShell Remoting endpoint is. To find this, log in to the Azure Management Portal, select your Virtual Machine and click the "Endpoints" tab:
Armed with this information the following command should work (you will be prompted to enter your password via a standard Windows Authentication dialog):
Enter-PSSession -ComputerName <machinename>.cloudapp.net -Port <remoting-endpoint> -Credential <username> -UseSSL
But instead received the following error message:
The server certificate on the destination computer (<machinename>.cloudapp.net:<remoting-endpoint>) has the following errors: The SSL certificate is signed by an unknown certificate authority.

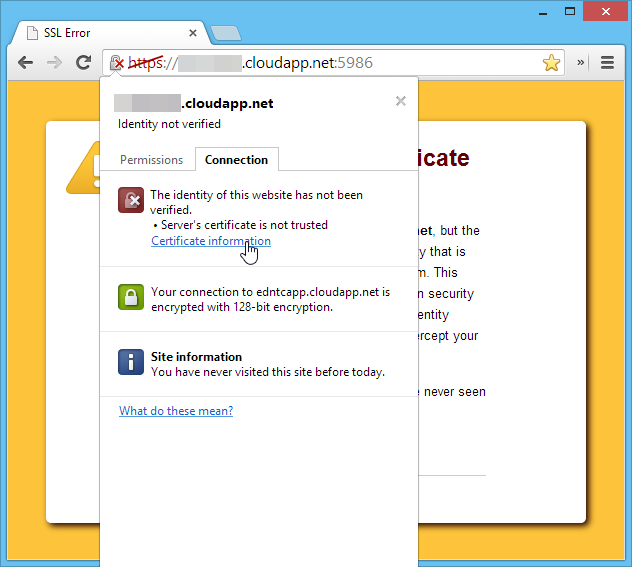
This is actually quite a self-explanatory error message for a change. When the WSMAN:// endpoint is created, a self-signed SSL certificate is generated (I'm not sure why the Azure team doesn't just have a wildcard *.cloudapp.net SSL certificate). You can test this by navigating to the HTTPS PowerShell Remoting Endpoint in Chrome, which gives you the following warning message:
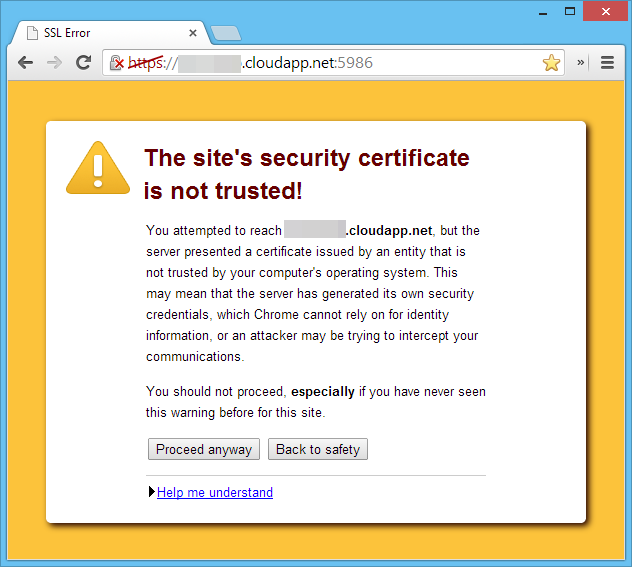
To view the certificate details, right click on the padlock icon in the address bar and click the "Certificate information" link:
and you'll be shown a dialog containing the certificate information:
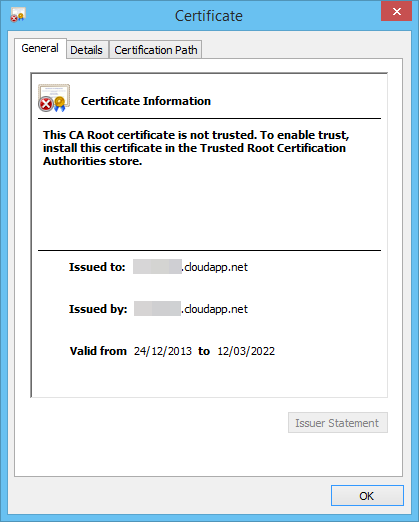
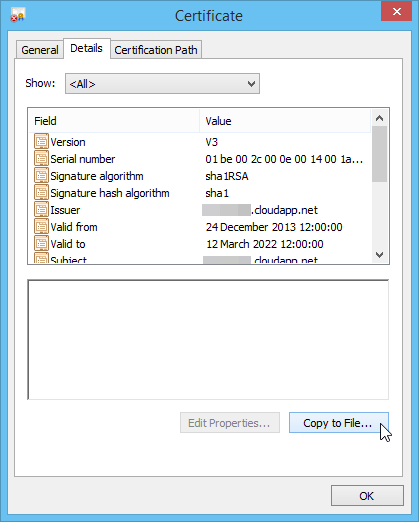
Click the "details" tab and then click the "Copy to File…" button:
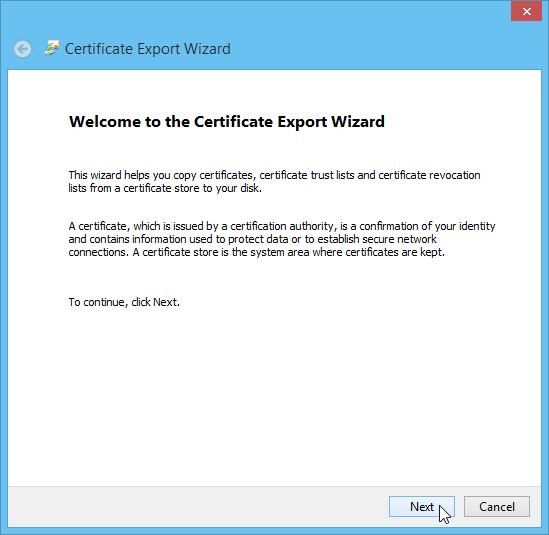
This invokes the Certificate Export Wizard. Click "Next":
The default DER format should be sufficient, so click "Next":
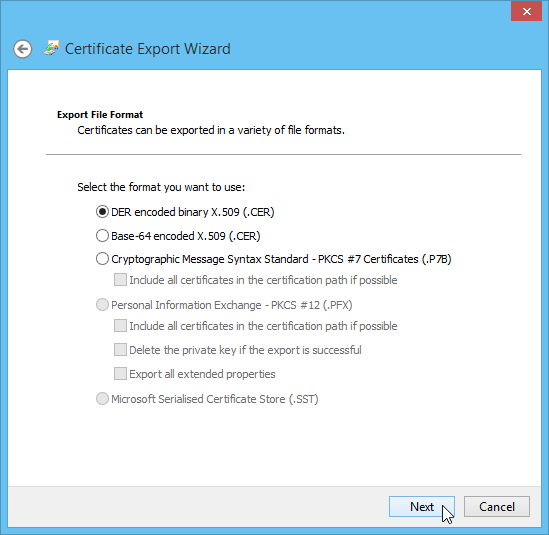
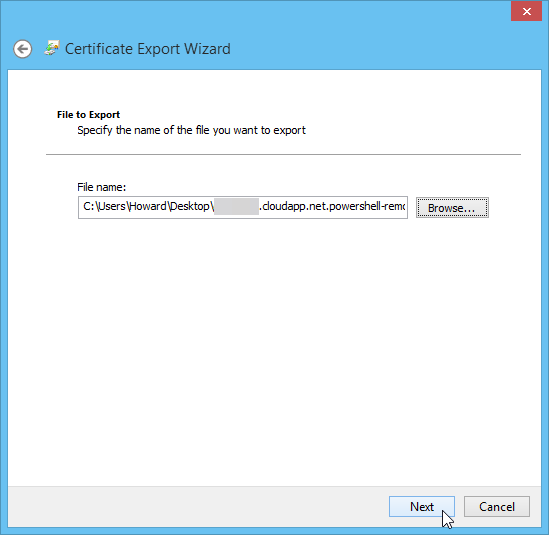
Next, chose a location and file name to save the certificate to, and click "Next":
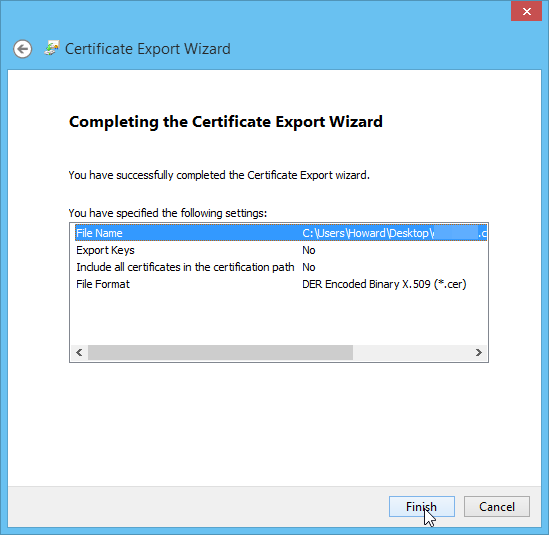
Click "Finish" on the confirmation screen:
Navigate to where you saved the certificate file, right click and select the "Install Certificate" option from the context menu:

This should invoke the Certificate Import Wizard. Choose "Current User" store location option:
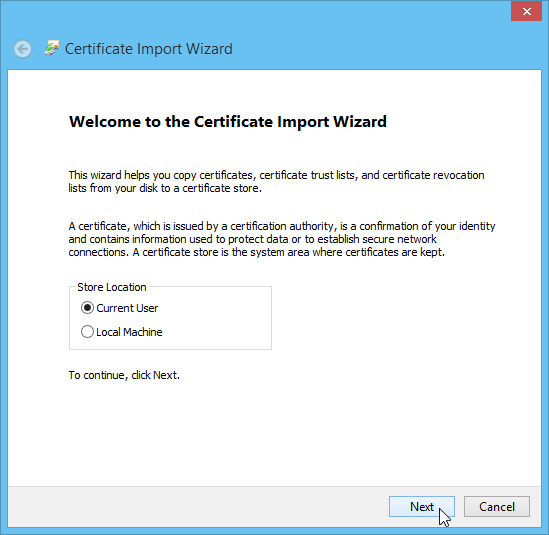
Select the "Place all certificates in the following store" option:
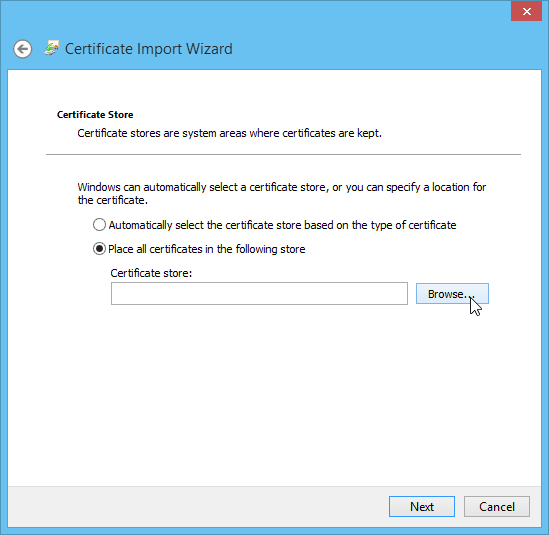
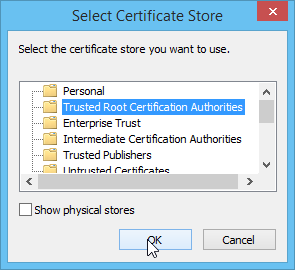
Choose the "Trusted Root Certification Authorities" folder from the dialog:
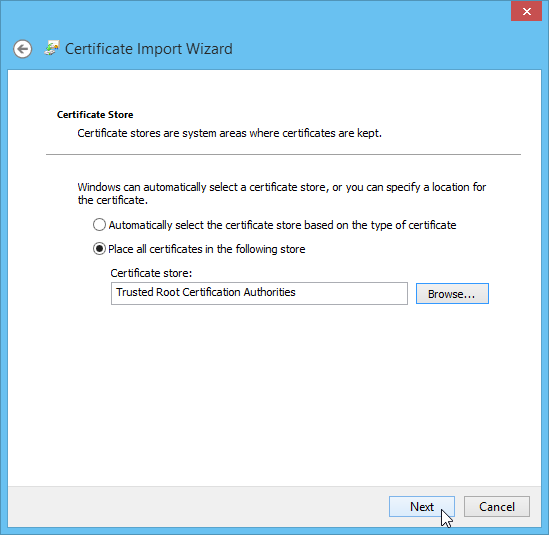
Click "Next":
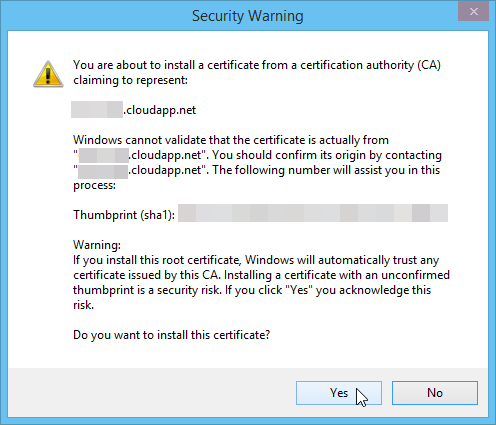
Next you'll be shown a security confirmation dialog, click the "Yes" button:
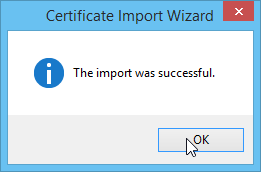
If the import was successful, you should see the following dialog:
Now with the certificate installed locally, you can try to create a new PowerShell Remoting session:

and you should successfully connect:

Work Smarter, Not Harder.

