A remedy for home working: build your own desk!


TLDR; this blog is for all the DIY enthusiasts who find themselves working from home and want to upgrade their home office. I built a custom "desk for life" for less than £200 over a weekend. The result is that I'm happier and more productive working from home. Please download the technical specification and adapt as you see fit.
New Office But No Desk!
During Covid lockdown 1.0 in early 2020 I worked 100% from home. My home office was located on the landing at the top of the stairs. This was not ideal, the rest of the family had to sneak past when I was on conference calls and I was constantly getting distracted by other things going on in the house.
When my daughter started college in September 2020 and moved out to her new "student digs", lockdown 2.0 was looming. So we decided to repurpose her bedroom (sorry Jessie!) to create a new home office where I could be more insulated from the rest of the household.
My new office would need a new desk. Having looked at what Ikea and other furniture retailers had to offer, I couldn't find anything that would make the most of the space I had available, that I liked, that had good reviews or could afford.

So I decided to build my own desk, setting myself a budget of £200 and the challenge of building the desk over a weekend.
Design Phase
Ahead of my build weekend, I spent quite a bit of time thinking about the design. My three core requirements were:
Functionality - I wanted a large desktop that was both deep and wide. The space in the room would permit a footprint of 1700mm wide, 900mm deep. I had to make sure there was plenty of leg room. I also wanted to be environmentally responsible by creating a "desk for life", so the ability to disassemble / re-assemble was important;
Strength - the desk would need to support quite a lot of kit. Heavy monitors, a pair of Sonos speakers, my Surface Book and whole host of peripherals. I didn't want it to shift around when I was sketching or typing. Strength was also going to make sure the desk had longevity;
Aesthetics - I wanted the desk to look good. I'm not sure exactly what furniture designers would call the "look" I had in mind, but I wanted nice clean lines and a "chunky look" to the desk.
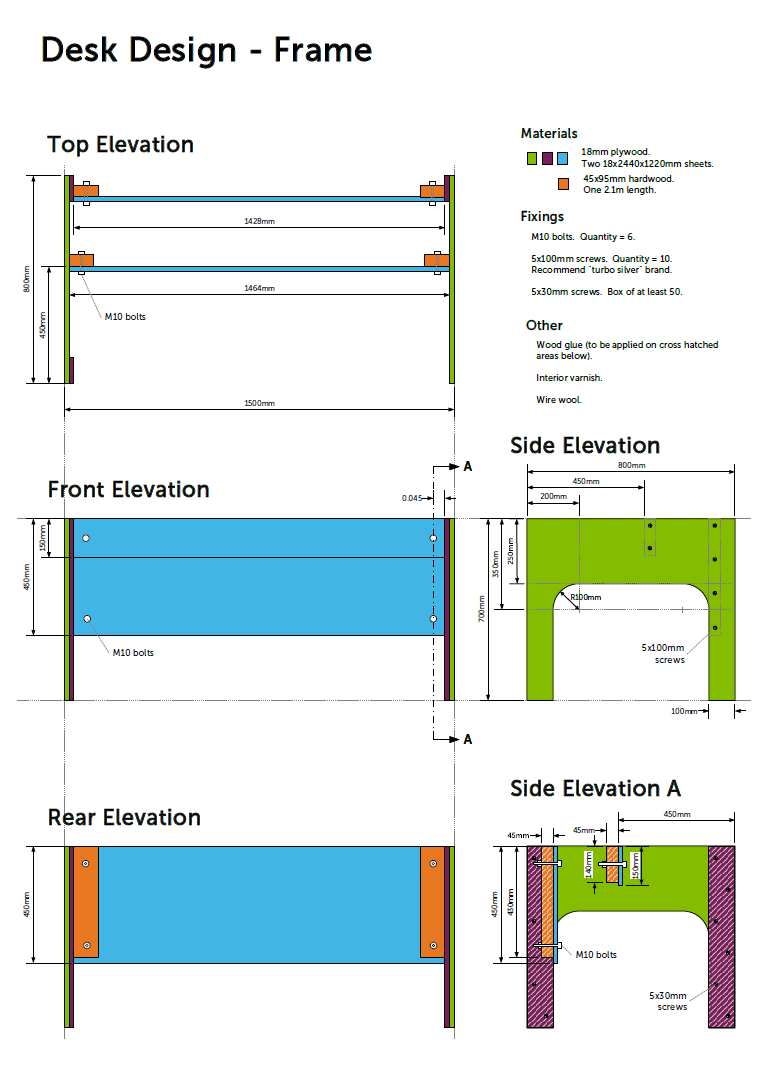
I used Trimble's SketchUp tool to create a 3D model of the design. I found this a really useful exercise, I was able to use SketchUp to explore the virtual design and iteratively refine it. The measurement tool in SketchUp also allowed me to create a living set of millimetre accurate dimensions that I used during the build phase.
Build Phase
I chose plywood as the primary construction material as it is strong, easy to work with and cheap. It's not normally used for furniture, it's usually hidden away below floor tiles performing a structural role. But I thought with some sandpaper and lick of varnish I could transform it into something modern and aesthetically pleasing: part of my plan was to make a feature of the lamination (the layers that give plywood its strength).

I chose 18mm over 15 or 12mm ply because it provides the highest level of strength, a better substrate to fix to and eliminates the necessity for a subframe. It also provides helps with the "chunky look" I wanted to achieve!
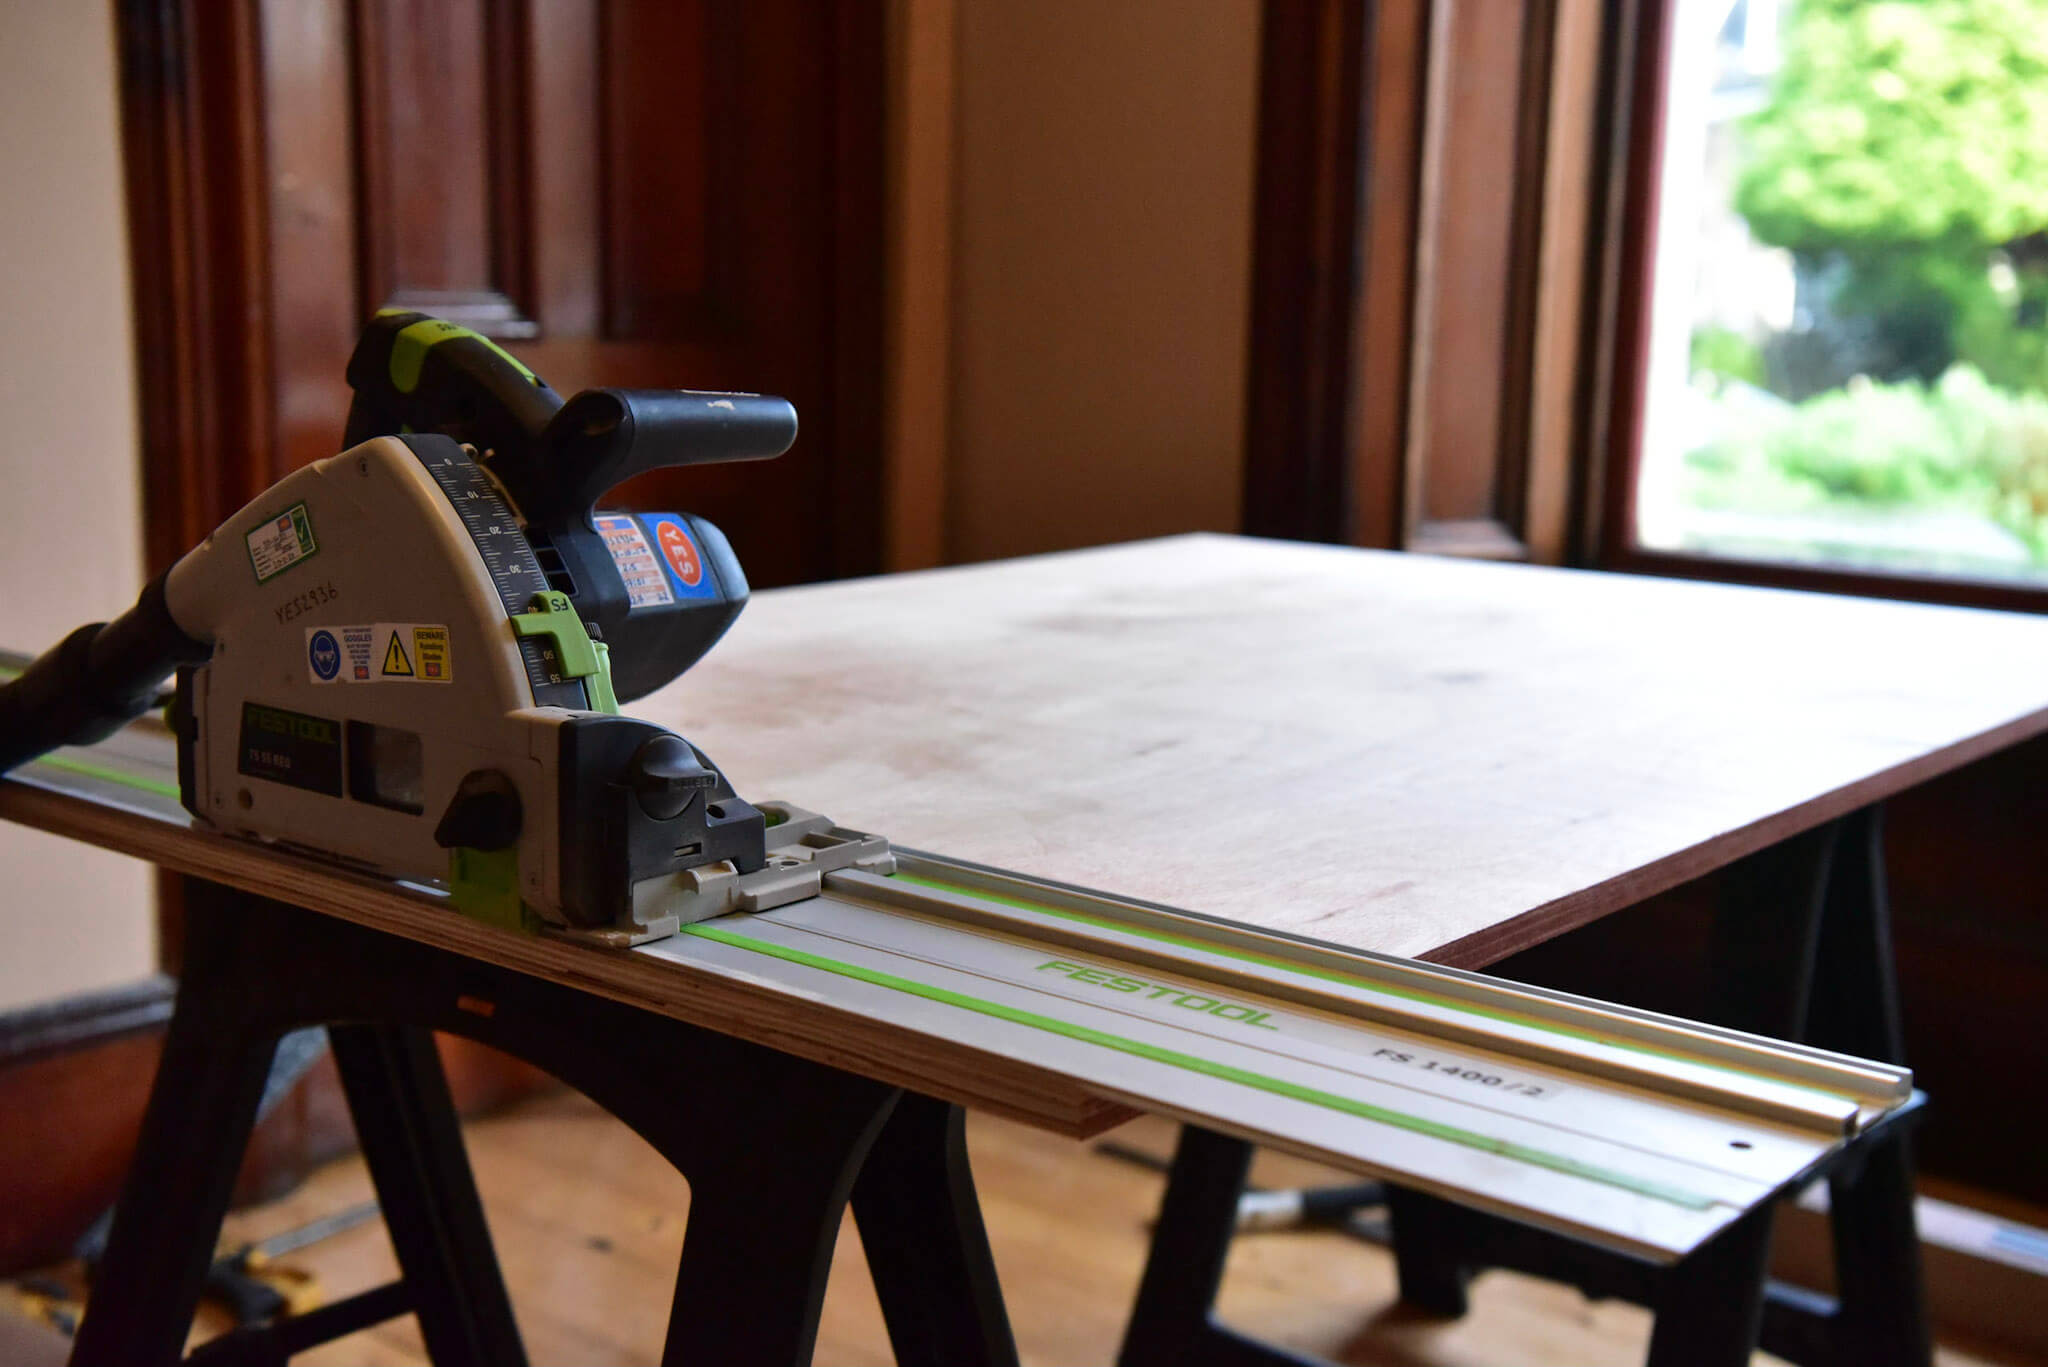
I had all of the tools needed to build the desk apart from one: a suitable electric saw for cutting the plywood. I turned to the excellent Your Equipment Solutions (YES), a local independent equipment hire company. They recommended a plunge saw with a guide rail. This enables you to cut straight clean lines through sheet material. This proved to be an excellent choice for the job and I would highly recommend it if you are attempting similar projects.
All of the dimensions were well defined, thanks to SketchUp. So the build phase was relatively simple, a bit like assembling a giant lego model. I'll pick out some of the key stages below with the appropriate photos to illustrate further.
Cutting out all wooden components
I used a combination of the plunge saw and an electric jigsaw to cut out the shapes from the plywood sheets. I found a food plate that was the right circumference and used that to mark out the curved sections. The hardwood sections were really simple, they just involved cutting off the right lengths of the machined timber.

Glueing and fixing
Then it was down to fixing all of the wooden pieces of wood together to create the major components of the desk: the sides, the two sections that would connect the sides to create a rigid frame and the desktop that would sit on the frame.
I chose to double up thickness of the plywood on the legs and around the edges of the desktop. This was partly to provide rigidity where it was required, but also to make the desk feel a little chunkier. These areas were glued and fixed with screws.
The hardwood blocks were also glued and screwed with extra long 100m screws. I would highly recommend the "turbo silver" brand - these provided a really secure fixing in an area of the design that needed a great deal of strength.
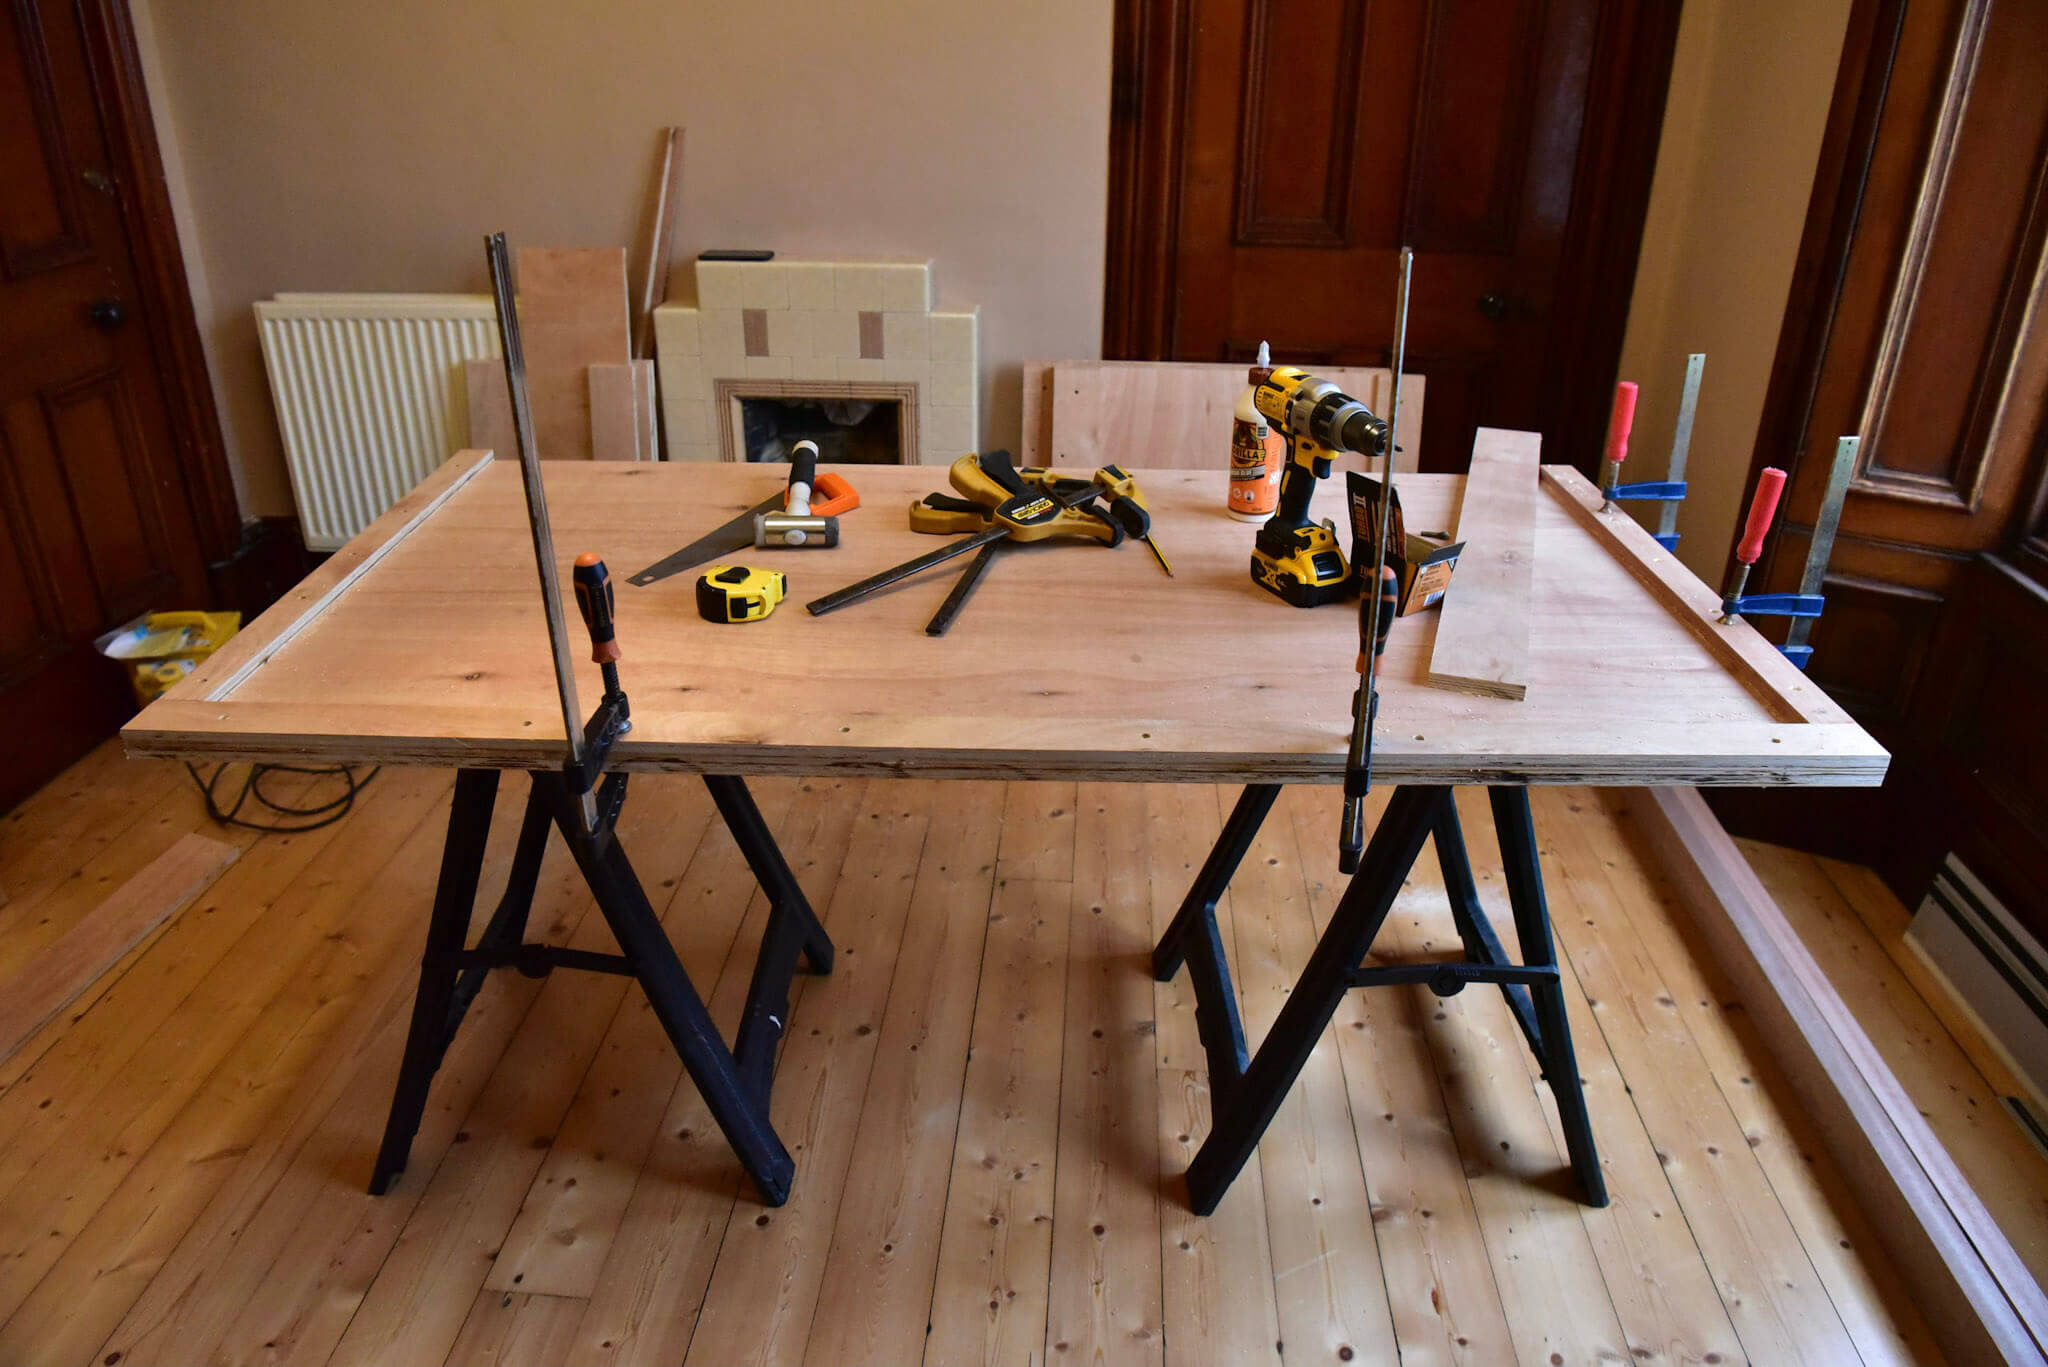
Assembly
With five major elements of the desk now assembled, the final stage was to put it all together. This involved assembling desk using clamps to hold it together, drilling 10mm holes for the bolts and using 6 M10 bolts to create create a rigid frame for the top of the desk to sit on. It worked a treat. I was really happy with how robust the desk felt, but without sacrificing leg room or aesthetics. I also knew I could disassemble the desk in the future if I needed to move it, by simply removing these six M10 bolts.

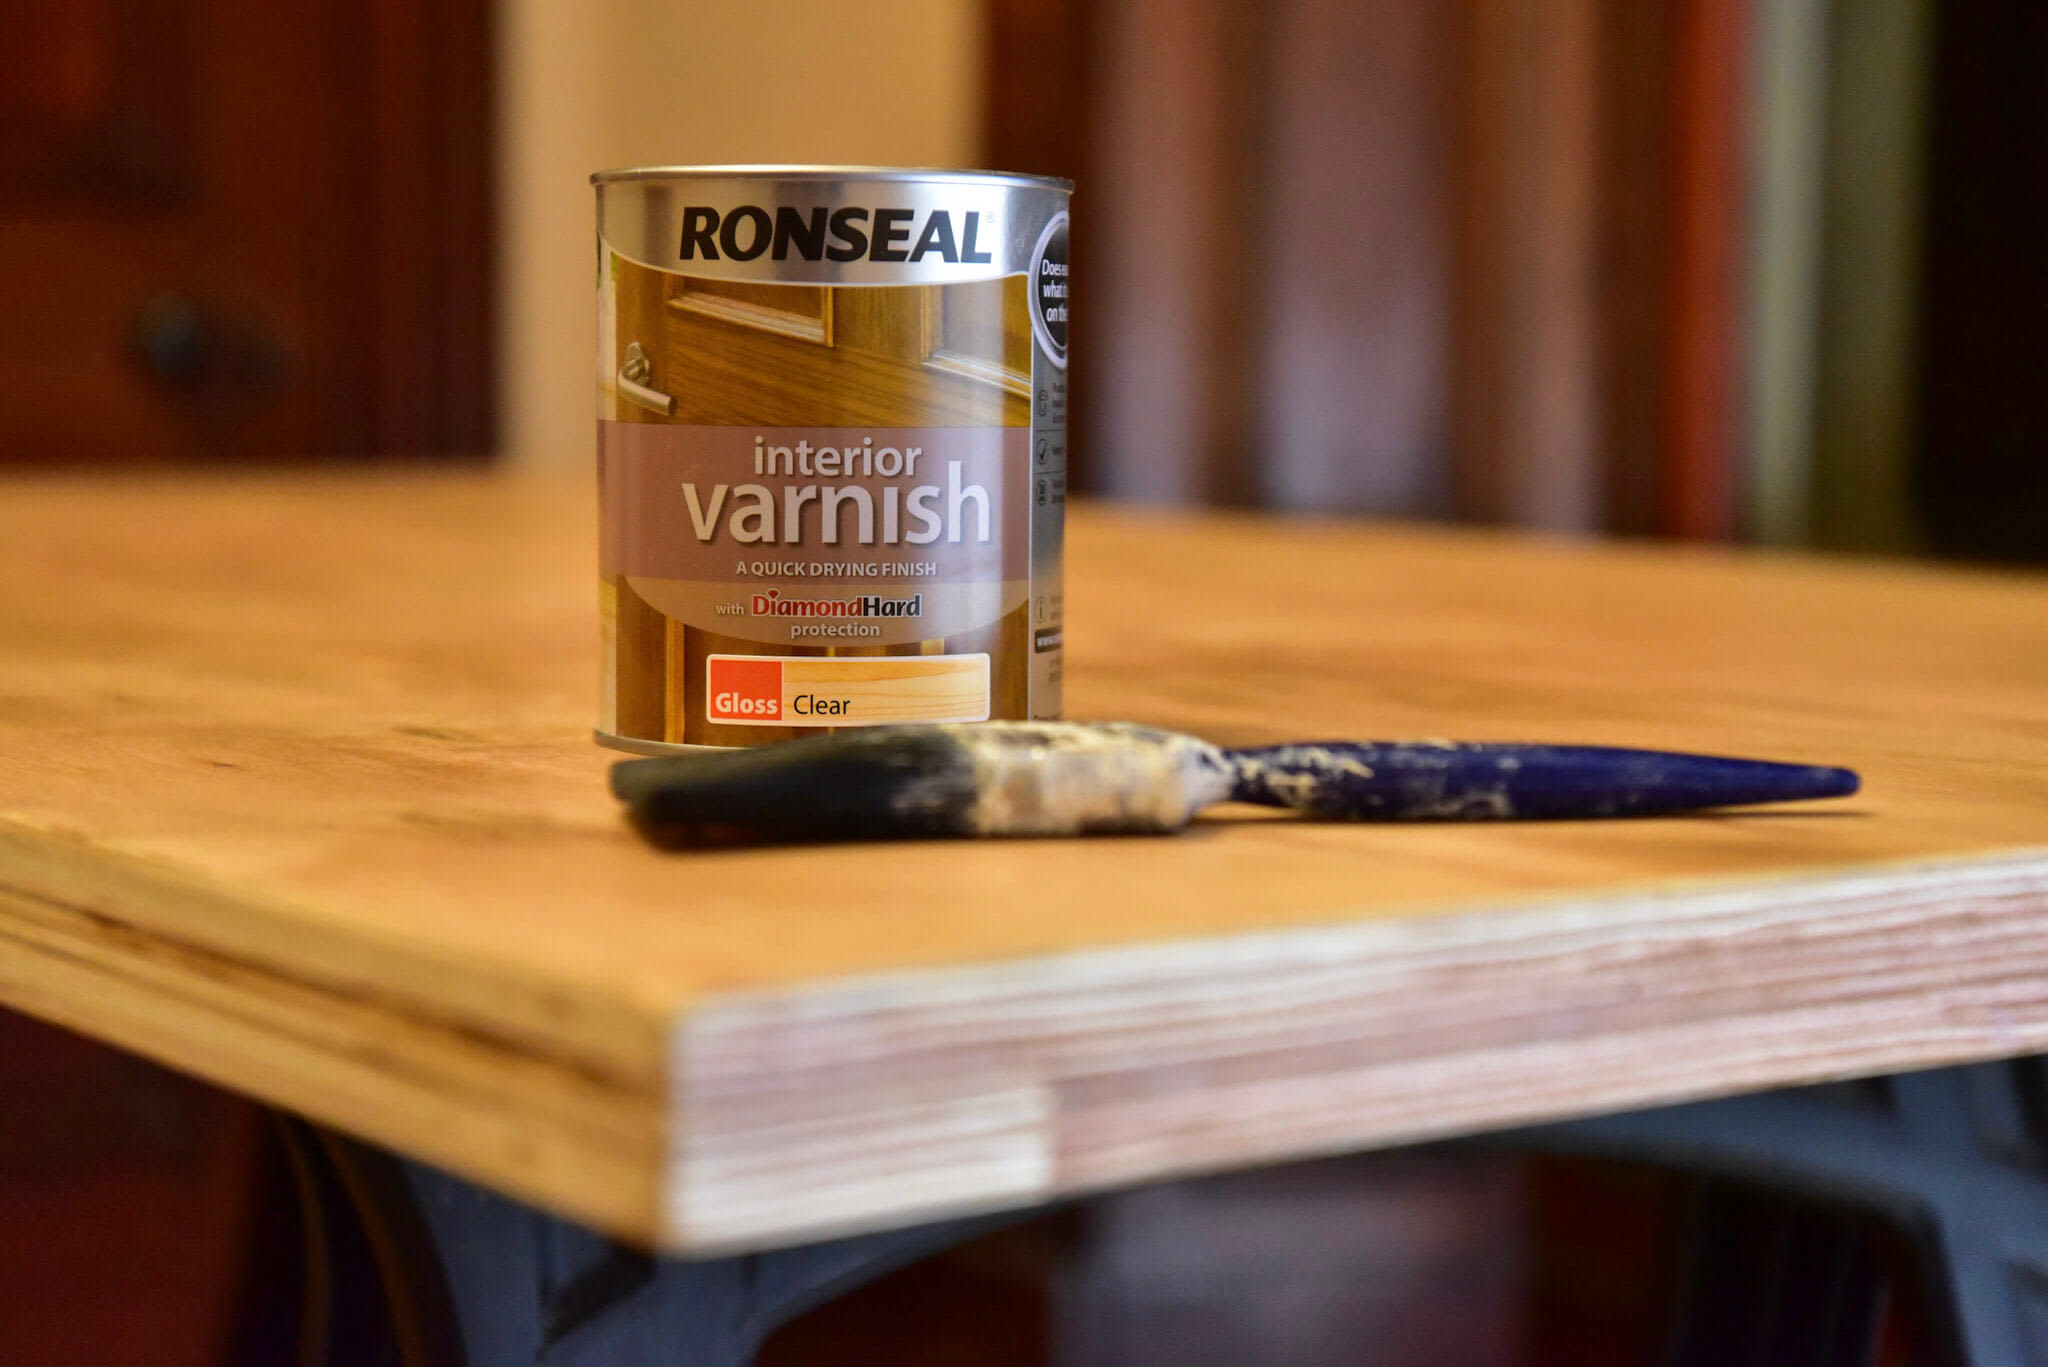
Finishing
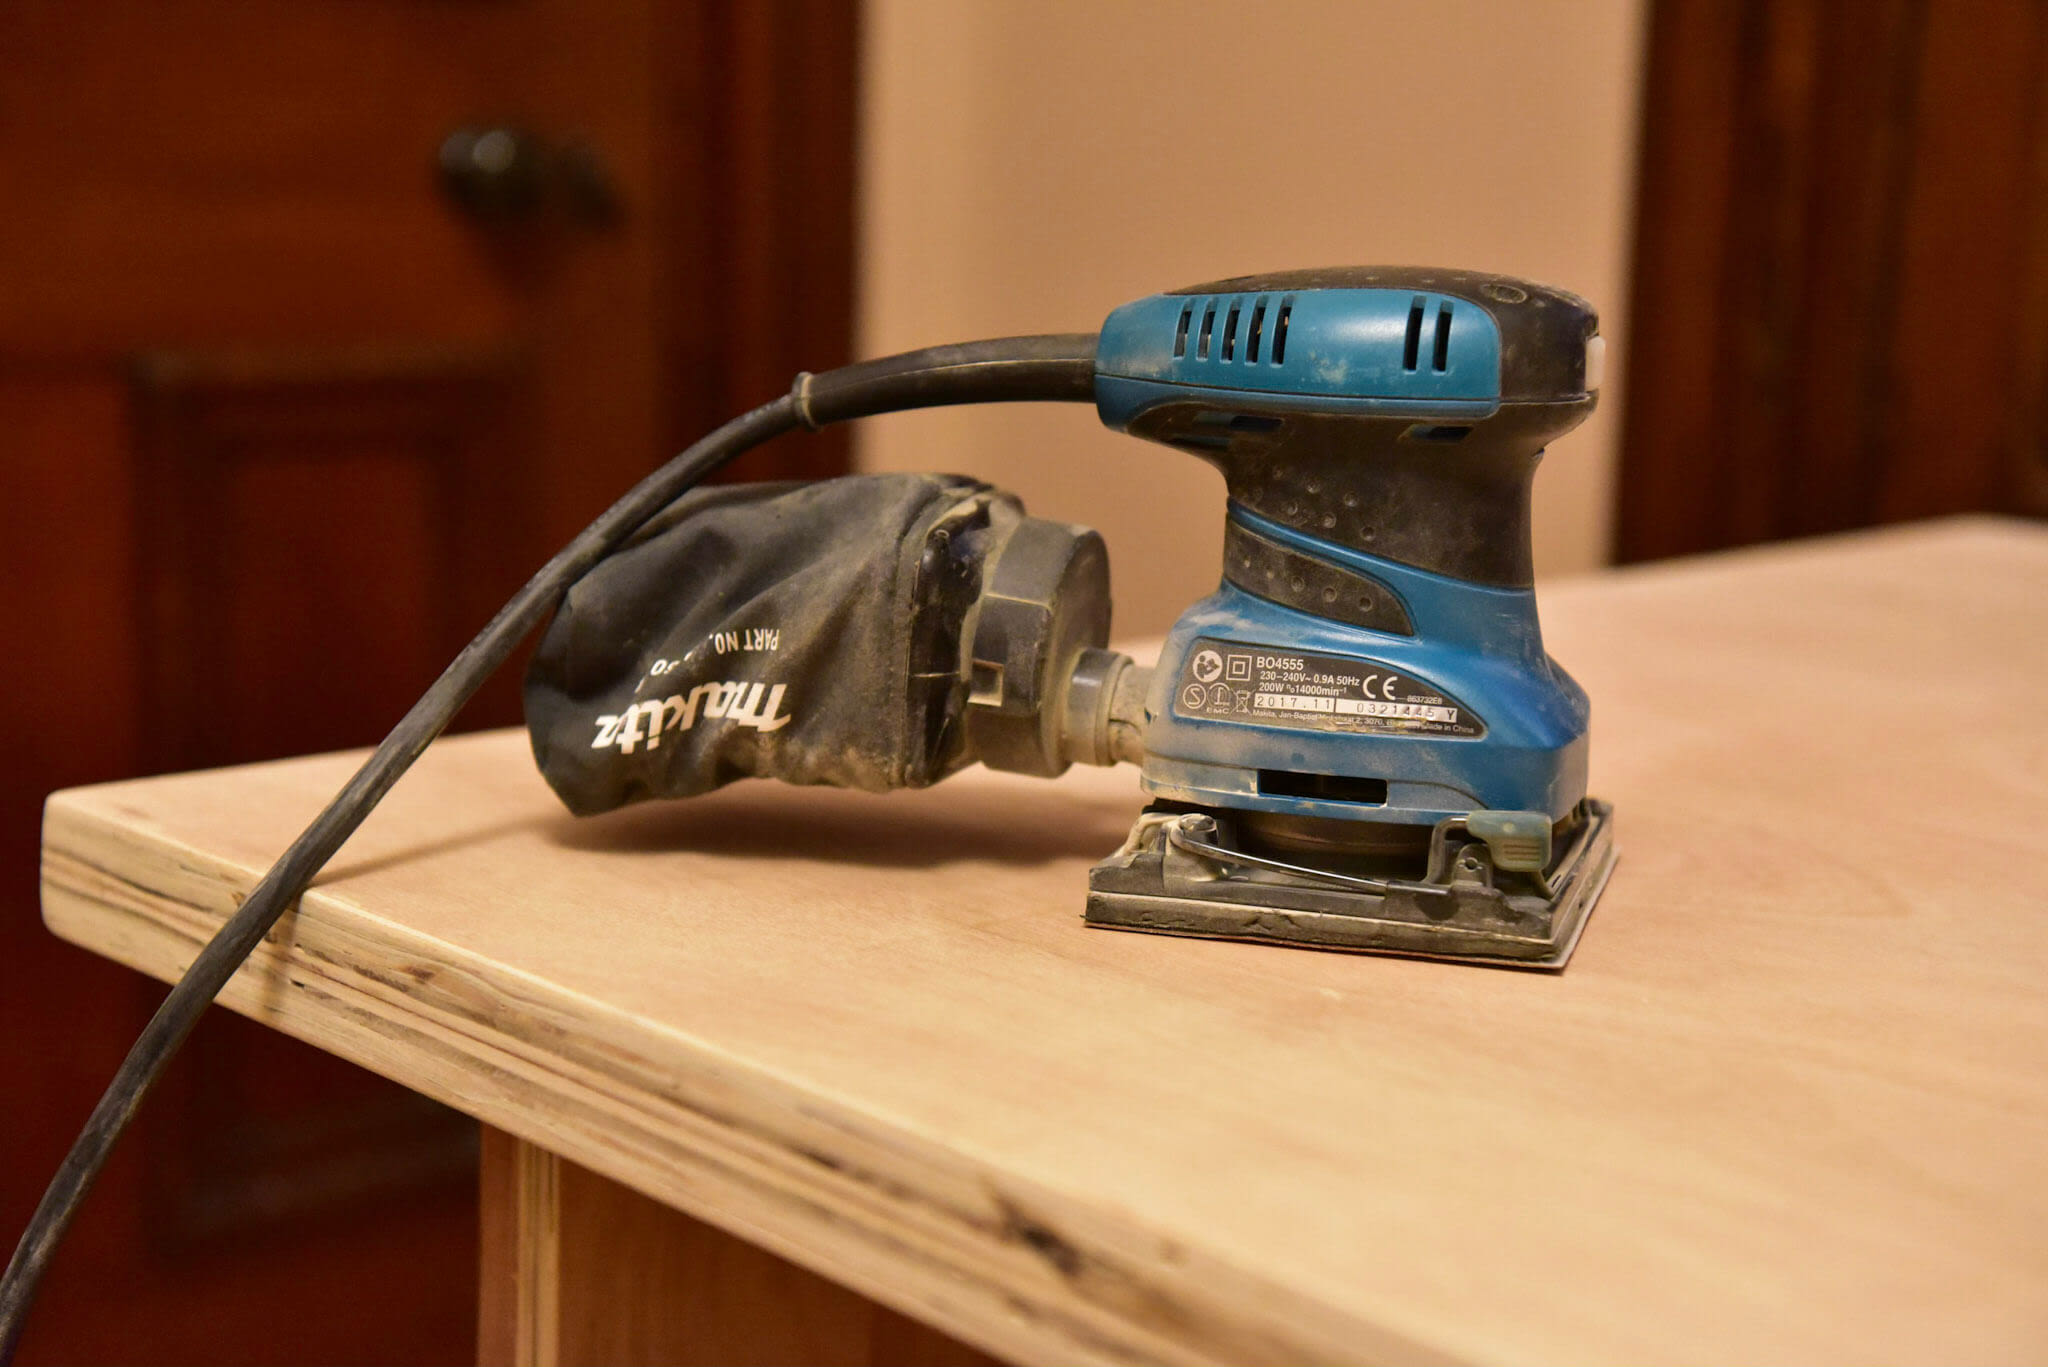
The final stage was to sand off the desk and apply a few layers of varnish. Once each coat had dried, I rubbed it down with wire wool to create a glassy smooth finish.
Life with a new desk...
I'm really happy with this desk, I sit down at it every morning with a sense of accomplishment and happiness because it provides me with such a wonderful workspace tailored to the room I work in and my needs.
Thanks to endjin, I've been able to kit it out with the best of gear, giving me an environment that is a pleasure to work in and that maximises my productivity. My desk has definitely played a key part in helping me to get through lockdown 2.0 with my sanity intact!
If you think your own home working environment could benefit from a new custom built desk and you are looking for a project to keep you busy over a weekend, please download my design and adapt it as you see fit: